

Building Your Bookbinding Essential Tool Kit
Most of the mini comics I have made to date are books I have bound myself, using simple methods or complex ones. All of my hand bound sketchbooks are items I have sewn in a perfect bound style, with simple hard covers as I think the spine stitching is part of what makes them pretty. I don’t see why anyone shouldn’t pick this up as a hobby, or even better, make mini comics or zines all on their own!
There are tools that you need before you can actively do anything, so I’m making this informational supply list with links to suggested retailers for anyone who wants to play along at home. Gathering your supplies as needed is the way to go, this can get expensive and depending on the nature of your project you may not need all of them. You might also find you need additional items as your projects demand them, this is in no way a comprehensive list…just a starting point for a true beginner.
I’m all for saving money by using alternative items and eschewing the fancy option, and if you know what you are trying to do buying what you anticipate needing in advance will usually allow you to get the best price on the items you need.
Recommended Supply List:
- Plain paper: letter, legal, & tabloid
- You will want a selection of standard printer paper, sized as needed, for general purposes. You can go with just standard printer paper or get some card stock thrown in there for different cover options or really slick books.
- I like Xpedex myself and am lucky to be in a city with two locations, you can order from them online but in store is nice if you aren’t sure what you want, the variety in paper weights is far superior and they trade in a huge selection of FSC certified papers if that is important to you.
- Even if you aren’t printing your own contents, kinkos/office max/etc, you need enough paper to do a paste up or figure out your layouts. It’s often helpful to build a dummy book to figure out your binding.
- Art Paper: any size
- This is where cutting things down will have the most effect. Patterned paper covers really finish off a book nicely if you can’t decide on cover art, and if you don’t want to go full fabric on your hard covers (perfect bound) a nice cotton paper wraps a board in a similar fashion.
- You can also get grass paper or scrap booking paper for patterns on inside lining. A quality colored paper is key if you ever decide to silkscreen or mono print a cover for a run of books, as it will stand up to the ink.
- Silk screening and mono printing are not something covered in this list, but they will take your cover to the next level. Your own artwork as an artisan craft.
- Binder’s Board
- Don’t cheap out on your covers! Get a true, archival binders board to cut down for them. They will be lighter, sturdier and longer lasting for you.
- Sand Paper
- Useful for taking the sharp edges off of binder’s board, get a nice medium grain paper. A fine paper can be useful if you over paint with PVA glue and it doesn’t dry clear.
- Invest in a holder for this if you do more than one hard cover book, hand cramps suck.
- Scissors, Xacto Knife/Box Cutters & Razor Blades
- Everyone should have a pair of scissors already, but a really good box cutter can be your friend when dealing with any kind of art board or rag/cotton paper.
- You should get in the habit of collecting means of cutting things, at least until you find your one true love. I’ve been using an xacto brand box cutter for years, it just feels right.
- Ruler and Cutting Board
- Invest in a good metal ruler with a cork backing strip, for traction, that is at least 24 inches long.
- You could also get a T-square if you like it for measuring perfect edges, but the cork backed ruler is better for trimming.
- A self healing cutting board that is at least 24 inches on one side is not just an excellent tool for your trimming and cutting but if you line it with wax paper it can turn any table or counter into a temporary work surface for any binding stage.
- Rotary, Guillotine or Specialty Paper cutters
- Far easier than hand cutting every spread, these can be expensive, and a lot of print shops have them for you to use; although their sharpness and maintenance may leave something to be desired. If you’re going to be doing several books at a time having access to a more industrial cutter is nice.
- There is also nothing to stop you from getting really crafty with your books. Any die/specialty cutters or embossers you have can be put to use to make some really unique things. I don’t advocate going out and buying anything crazy here, but if you happen to have anything already find a use for it.
- Awl
- You will need to poke needle holes into things, particularly for sewn books (saddle stitch, stab bound or sewn perfect bound) of any kind. An awl will help you not tear your paper by pre punching a small sewing hole for these binding methods.
- You will stab yourself with the awl at least once so pick one you are comfortable with, or at least one whose handle feels good in your hand.
- Keep your awl sharp, as dumb as it sounds…dull hurts worse when you get yourself with it. I’ve managed to bend the tip of my first awl, and then stab myself with it. Not awesome.
- Single Hole Punch
- I’m surprised to this day how often I use this. It is really handy if you are cutting out a section inside a bit of paper by scissors to have a hole cleanly started for you.
- Specialty Hole Punches (as needed)
- In your local scrap booking section, you can get some nice lace effects and such, they make a decorative statement on your cover or title pages. This is a cheap alternative to fancier custom cutters.
- Long Arm Stapler or Saddle Stitch Stapler
- My long arm stapler may be my favorite supply, for no particular reason.
When I teach a binding workshop I usually title it “Have you seen my stapler?” because you cannot discount how important this specific tool is to home binding. - You simply cannot use a standard stapler and expect good results. While there are specific saddle stitch staplers on the market the long arm stapler is far cheaper (under $30) and far more versatile across many sizes and types of project. It just takes longer to bind each book. A saddle stitch stapler saves you time but restricts your formatting.
- My long arm stapler may be my favorite supply, for no particular reason.
- Staples
- Go high end on your staples as you want your binding to last.
- Pens & Markers
- Sharpies are awesome and you will probably use them a lot.
- The technical pen is a great tool you will exhaust. Try microns for price or if you want to get Copic Multiliners those are versatile and archival with a better quality ink. Old fashioned rapidographs, while being a pain in the ass, are a good technical pen option that can use any ink you choose.
- You can also collect a bunch of gel pens, paint pens or what have you, if you decide to hand letter fancy paper covers a quality paint pen will hold up nicely.
- White Out
- Old fashioned liquid paper, the paint pot variety, can clean up so much on a physical paste up. You can cover seams from your cutouts as well as make corrections, this is a good general tool if you plan to make physical paste up master file to xerox your interior pages into existence. Publishing like it’s 1999.
- Clips
- Basic black binder clips in various sizes are a fantastic way to hold things together without even my suggestions on a cludge fix book press. Clipping any pages together helps ensure a clean alignment no matter what binding style you are using. Also, you will find infinity uses for these things once you have them so you might as well.
- Bone Folder
- Most are plastic these days, but this is a nice smooth tool that gives you crisp and precise folds to your paper. If you are hardcore into origami you may have one already, you can also use your fingernail or a quarter but the bone folder will give more consistent results with less residue on the fold.
- Neutral ph Adhesive (PVA glue)
- This is an essential. PVA glue is archival, it’s flexible and it dries clear enough that you won’t notice minor over paint. If you need to glue your book together this is the kind of glue to use.
- I ordered a bulk bottle of the Lineco stuff a couple of years back and it’s still going strong. Buying bulk is the way to go on this but trust me…worth it’s weight in gold.
- Glue/Glue Stick, Modge Podge and Tape
- You can never have enough adhesive.
- I love glue sticks, useful for making paste ups; but if you are just affixing a cut out of something onto a cover you don’t always need to break out the PVA glue.
- For low wear decorative elements a glue stick or Elmers will work just fine.
- Never try to substitute any of these for adhesion on binders board or spines, however, as these adhesives crack and the PVA will flex with use.
- Also, if you don’t already own some Modge Podge you should…so useful.
- Waxed Paper
- You probably have this in your kitchen already, but stock up on a craft role. The waxing on this is great, your basic glues will peel right off it, making it an ideal surface for drying – your books won’t stick to it permanently – and as a slip sheet.
- Placing a layer of wax paper between the cover backing and main pages of a book will ensure those pages don’t end up stuck to each other. Parchment paper is not the same thing.
- Paper Towels/Newsprint Pad
- To catch and clean up your messes, you can also use wax paper with paper towels for this. Newsprint has the added benefit of being able to take notes or mark up with a table top template or place holder.
- Old newsprint scraps can be used for your mock ups too, if you want to save on printer paper.
- Brushes or Sponges
- Your various adhesives don’t necessarily have their own method of applying a thing consistent coat, to spread them you need something. Get a set of cheap brushes (they will be full of glue eventually so you don’t need high end brushes) or you can get some plain kitchen sponges (no scrubbers or detergent laced kinds) and cut them into cubes for a handy – disposable – applicator.
- I personally go the sponge route most of the time, if you have sturdy natural nails you can hold the sponge bare handed, and pick off the glue once it dries, which I find fun. If you have acrylic nails or weak natural nails you may wish to hold the sponge with a clothespin to not have to flake things off or out from under your fingernails.
- Quilting Needles
- To sew with; you will want something that isn’t too sharp or dull, fairly thin so it fits through your awl holes, but with a wide eye as waxed thread is an absolute disaster to thread needles with.
- Have at least one sharp needle in your kit to clean the wax out of your quilting needle eyes between threading.
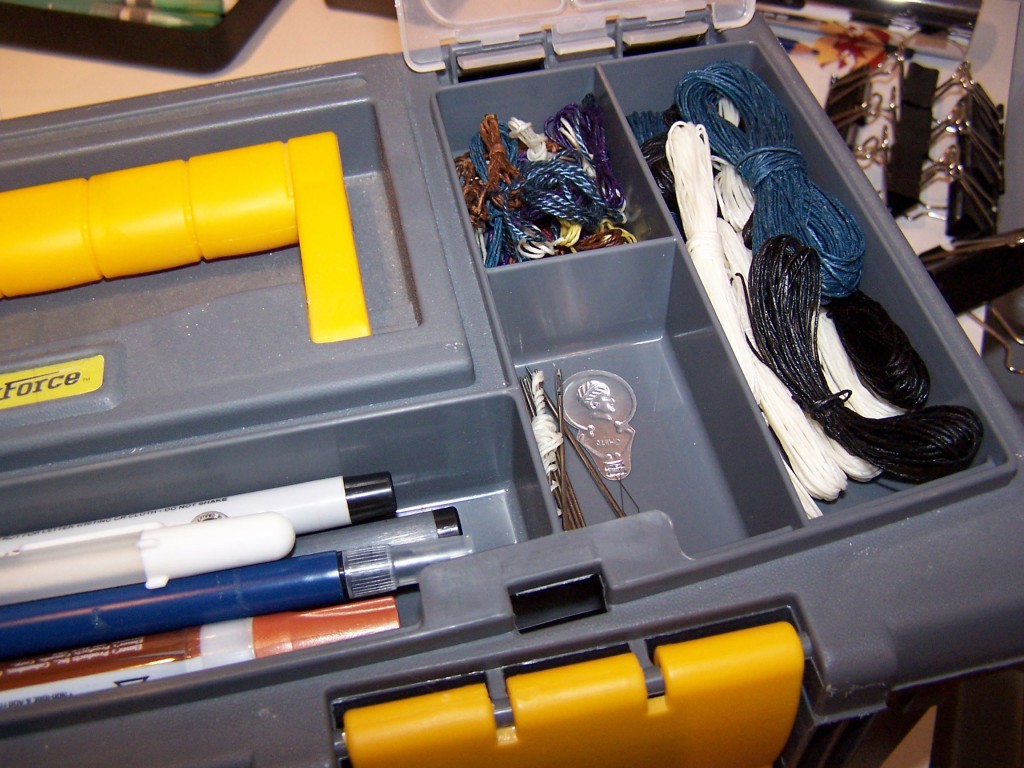
- Waxed Thread
- There are places where you can buy pre-waxed thread, you can also buy a chunk of beeswax and some embroidery thread or thin cording and make your own.
- Making your own is unpleasant, but totally doable if you want a very specific color.
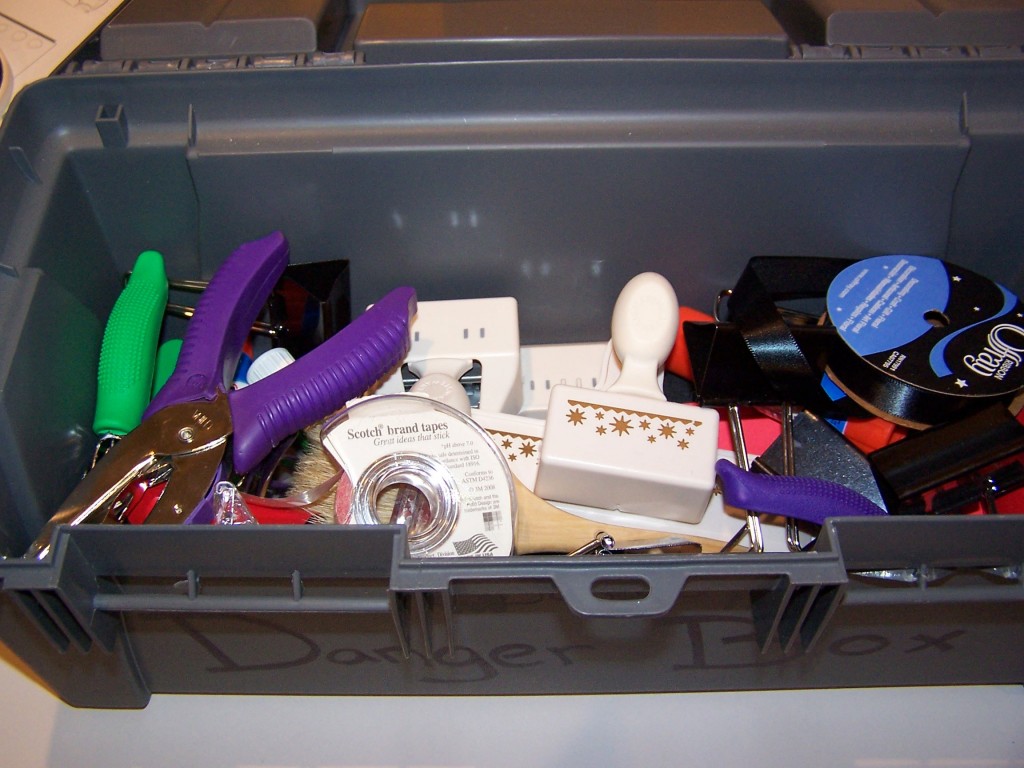
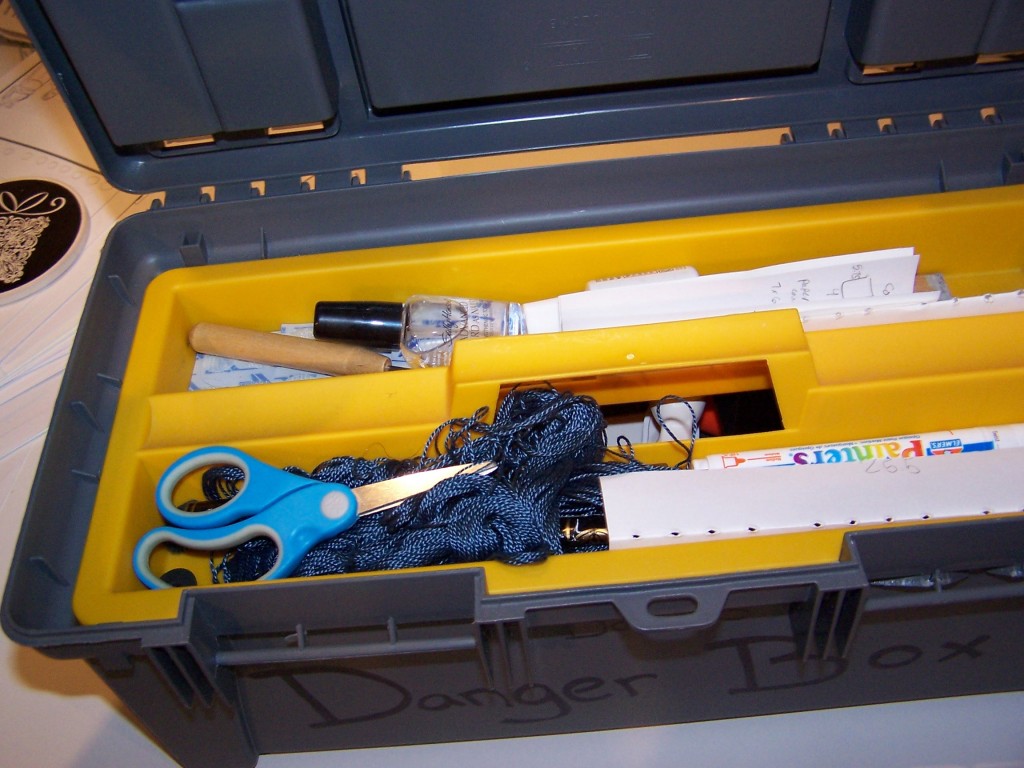
- Tool Box or Art Bin
- This is where your supplies will live, keeping your home safe and organized and your tools portable, you could even use an old shoe box if you really wanted to cheap out. You just need a place to store it all.
- An art box may have more conveniently sized trays for this sort of thing, but one of my professors called his a “danger box” due to the multitude of sharp tools you will have loose in it, if you have small children a locking tool box would be a good option to keep little hands away from awls, box cutters and razors.
- Vice Grips
- A book press is overkill for anyone doing this as a hobby, fortunately a good table vice (any hardware store) and some junk board can simulate a nice press.
- It helps you hold things if sewing gets awkward and press things you’ve glued together while they dry. Vice grips offer decent air circulation, if perched on a work bench, and may assist with quick drying where books won’t.
- Masonite or Junk Boards
- Your self healing cutting mat is not going to be rigid, when it comes time to press something together for an even seal you will want a stiff portable board
- Heavy Books
- Any heavy books will do: old text books, coffee table books, phones books, etc.
- If you don’t want to invest in vice grips or a press you can use your wax paper and junk boards to create a press surface and then apply the lbs. by stacking up the heavy books. This method allows for the occasional sliding and won’t always allow the best air circulation for drying but it is free and requires no technical skill to set up.
- Computer and Software
- Photoshop & InDesign | Manga Studio | Microsoft Publisher | Scanner
- Any software you feel comfortable in will work but the Adobe ones are ideal. Even if you are making a physical paste up you may want to typeset something or correct artwork beyond ink and whiteout.
- Scanner
- A good scanner is also recommended but totally optional. Go for a flatbed photo scanner if you can find one, as the quality will be sufficient for print. Any price range you are comfortable at should work for a hobbyist. If you are in the market for something over sized try to find a Mustek, I hear they finally have OSX support for their products.
- Access to Printer/Copier/Xerox Machine
- For less than five books a personal printer can work, although I recommend laser printers for their speed, a xerox style machine allows you to use a physical paste up and professional machines will have a lower cost per page and a larger print safe area.
- Search your area for the best deal on single and double sided printouts, some copy services will have paper cutters for your use on site.
- Some printers will even print on paper you supply if you are particular about your stock.
RECOMMENDED SUPPLIERS:
Office Max | Staples | Xpedex | Home Depot | Lowes | Jerry’s Art-o-rama | Utrecht | Dick Blick | Michaels | Amazon